Showing posts with label Mama Elephant. Show all posts

Saturday, January 11, 2020

MISS INK OH NUTS | NO LINE COLORING | ZIG CLEAN COLOR MARKERS | USING CHRISTMAS PAPER FOR LOVE CARDS

Today is my first post for the Not 2 Shabby Shop as a design team member. This is Huge for me. I've been really hoping to build on my skills as a paper crafter, blogger and content creator for YouTube in 2020 and I have so much opportunity before me. As 2020 starts for me here at Delaney Jane Cards, there is so much possibility before me and it starts with this post!


Today I got to play with a Miss Ink stamp set called Oh, Nuts. I didn't have a single Miss Ink item in my stamp inventory before a few weeks ago. So before I get into the post about my project I'd like to discuss the brand a little bit.

The stamps stamped clearly and cleanly directly from the package, I didn't have to condition them or stamp them off first before I got a clear image. I can't say that will always be the case with their stamps but as a first impression, it was really nice. It took a step out of my process and I got to move straight onto creating.

The stamp set I chose to create with this month is a fall themed set. I wanted to show that a seasonally themed stamp set can be used for other occasions with just a little creativity.

Ok, so onto the card because I know that is what you are here for. ;)


I pulled a piece of paper from the Pebbles Merry Little Christmas 6x6 paper pad. I know it is past Christmas, but this adorable heart print screams Valentine's day, does it not!


I stamped my images in Ink on 3's No-line fade out ink. I'm really new to the no line coloring experience and absolutely need more practice but why not start practicing today!


I colored my image in using my Zig Clean Color Real Brush Markers and a blending marker from Zig. I really like that they offer this because I don't always want to use water when I use these markers.


I finished this all off with some layered die cuts with edge details, white gel pen dots and some black glaze pen for the eyes to make them really stand out.

There is a coordinating video on my YouTube channel where you can watch this card come together. You can view it here: Delaney Jane Cards

 You can visit the Not 2 Shabby Shop and see what Jamie has to offer here: https://www.not2shabbyshop.com/?Affid=14

Products Used (May contain affiliate links. Affiliate links add nothing to the cost of your product but I do make a small portion of the sale. This helps support my channel so I can continue to bring you free quality content) 
 
Miss Ink: Oh Nuts* https://www.not2shabbyshop.com/Oh-Nuts_p_9211.html/?Affid=14 (Not2Shabby) 
Ink on 3 blackout ink https://www.not2shabbyshop.com/Blackout-Hybrid-Detail-Ink_p_8417.html/?Affid=14 (Not2Shabby) 
Mini misti https://amzn.to/36TvONK (Amazon) 
Sakura Gelly Roll Classic Pen Bold 10 White https://amzn.to/2Mjlc2T (Amazon) 
Black Glaze pen https://amzn.to/393uERW (Amazon) 
Zig Clean Color Real Brush Markers www.shareasale.com/a-bookmarklet.cfm (Dick Blick) 
 
Thank you for stopping by and as always GIVE CARDS GENEROUSLY! -Renee' All items were purchased with my own funds excluding the items with an asterick. This video / blog is a design team post. Confused about why I named it all Delaney Jane Cards if my name is Renee’? This entire thing, shop, YouTube channel, blog, etc, it is all named after our angel daughter who passed away in 2013. I made her some promises when she passed away. I would spread joy, I would make her proud and I would speak her name daily. This is one way we choose to honor her memory, and help me keep my promises. 
 
YouTube is at: https://youtu.be/afUmkqVsjH8
Check out our online store at: www.delaneyjanecards.com 
Want to visit us on Instagram? Check us out at @delaneyjanecards 
Facebook: https://www.facebook.com/delaneyjanecards/ 
Email: delaneyjanecards@gmail.com

Friday, December 6, 2019

CREATING TEXTURE THROUGH PATTERNED PAPER AND DIE CUTS | WEDDING CARD


Today, I created a wedding card using some of my favorite Pink and Main papers. I adore this pad from them called The Shore. I wasn't able to find it in their store or in the SSS store. Probably because it is hard to keep in stock, just my guess.


The papers don't have any texture to them but the images on them appear to be textured. All textures of the beach and sea. <3

I pulled out several die sets to create this card, Mama Elephant, MFT, Nellies, Amuse, Gina Marie, And Honey Bee.


I used this set from Simon Says Stamp for the stamped sentiment on the outside and the coordinating sentiment on the inside. 


Thank you for stopping by and as always
GIVE CARDS GENEROUSLY!
~Renee’
All items were purchased with my own funds. This video / blog is not sponsored.

Confused about why I named it all Delaney Jane Cards if my name is Renee’?
This entire thing, shop, YouTube channel, blog, etc, it is all named after our angel daughter who passed away in 2013. I made her some promises when she passed away. I would spread joy, I would make her proud and I would speak her name daily. This is one way we choose to honor her memory, and help me keep my promises.


Check out our online store at: www.delaneyjanecards.com
Want to visit us on Instagram? Check us out at @delaneyjanecards


Wednesday, October 2, 2019

Layering Embossing Powder And Adding Shimmer

I pulled out some older sets from my stamp collection today and used these large Fiskars sets. The background stamp is from Henna Petals and the sentiment is from Friends Forever Quotes. Both have been a part of my stamp collection for several years.


I layer heat embossing today as one of my techniques making this card. I heat embossed a sentiment over a heat embossed background. A very cool technique that will leave people wondering how you did that.

Also, today I my voice over was visited by my current favorite 2 year old...  I didn't redo my voice over because I'm not sure I'll find the quite time to retry. So enjoy a little from Ryker along the way. ;)

You can listen for my special guest and watch this card come together here: Delaney Jane Cards

All items were purchased with my own funds. This video / blog is not sponsored.

Confused about why I named it all Delaney Jane Cards if my name is Renee’?
This entire thing, shop, YouTube channel, blog, etc, it is all named after our angel daughter who passed away in 2013. I made her some promises when she passed away. I would spread joy, I would make her proud and I would speak her name daily. This is one way we choose to honor her memory, and help me keep my promises.

Speaking of blog, you can check it out at : www.delaneyjanecards.blogspot.com
YouTube is at:  https://www.youtube.com/channel/UCyFZ3_vCTd3EohFMlGfRODQ
Check out our online store at: www.delaneyjanecards.com
Want to visit us on Instagram? Check us out at @delaneyjanecards
Facebook: https://www.facebook.com/delaneyjanecards/
Email: delaneyjanecards@gmail.com


Tuesday, October 1, 2019

Copic Coloring on Glitter Cardstock

I created two adorable baby cards using some old and new items. I used a stamp set I've had for at least a decade and a sentiment set I've recently acquired. Mash up designs are always so fun for me.


I also tried a new technique I dreamed about and decided I wanted to see if I could make it work.


I used several dies from my stash to create the layout. I normally reach for sketches when creating but this time I just had an idea and went with it.


You can watch these cards be created here: Delaney Jane Cards


All items were purchased with my own funds. This video / blog is not sponsored.

Confused about why I named it all Delaney Jane Cards if my name is Renee’?
This entire thing, shop, YouTube channel, blog, etc, it is all named after our angel daughter who passed away in 2013. I made her some promises when she passed away. I would spread joy, I would make her proud and I would speak her name daily. This is one way we choose to honor her memory, and help me keep my promises.

Speaking of blog, you can check it out at : www.delaneyjanecards.blogspot.com
YouTube is at:  https://www.youtube.com/channel/UCyFZ3_vCTd3EohFMlGfRODQ
Check out our online store at: www.delaneyjanecards.com
Want to visit us on Instagram? Check us out at @delaneyjanecards
Facebook: https://www.facebook.com/delaneyjanecards/
Email: delaneyjanecards@gmail.com

Friday, September 6, 2019

Glow in the Dark Night Scene with Heffy Doodle's Rescue Dog

Hi Crafty Friends!

Today, I created a night scene card with glow in the dark accents and the most adorable super dog ever!


I used Heffy Doodle's Rescue Dog stamp set and an MFT die with for the city silhouette and a Mama Elephant die for the frame.

This super simple card features an ink blended night sky with water drop details, nuvo glitter starts and nuvo glow drop details!

I copic colored the super dog and fussy cut him out so he wouldn't have a white border. I thought that would be jarring against the night sky.

Here is the process video on my channel if you'd like to watch this card come together. Delaney Jane Cards YouTube


All items were purchased with my own funds. This video / blog is not sponsored.

Confused about why I named it all Delaney Jane Cards if my name is Renee’?
This entire thing, shop, YouTube channel, blog, etc, it is all named after our angel daughter who passed away in 2013. I made her some promises when she passed away. I would spread joy, I would make her proud and I would speak her name daily. This is one way we choose to honor her memory, and help me keep my promises.

Speaking of blog, you can check it out at : www.delaneyjanecards.blogspot.com
Check out our online store at: www.delaneyjanecards.com
Want to visit us on Instagram? Check us out at @delaneyjanecards


Thursday, June 20, 2019

Day 6 and I felt like Dory!

Have you seen that movie, the one where the blue fish continues to say Just keep swimming... ?


This card was my keep swimming moment of the week, for sure!


I embossed the image on white bristol smooth cardstock. I had envisioned water coloring these flowers with sepia tones. I did what I thought would have accomplished just that but, it did not look nice at all. I almost threw this card panel away. I never do that, but I almost did.


I got up from the craft desk and did some housework and went back to it. I figured I could splatter brown and gold splats on the image and maybe that would help. NOPE, still hated it.

I got out a stamp set that has splatters and swatches you can stamp so it looks random but it really is controlled... I stamped that on the image. STILL HATED IT!

I left it alone for a little while and did more housework. When I went back to my desk I actually picked it up to throw it away and then decided, to ink blend over it because maybe it would help. I thought it couldn't hurt. I was ready to throw it out anyway. So I ink blended distress oxide inks over the entire panel, image and all. AND... it looked like leather. I actually sort of liked it.

I decided to stamp a sentiment and then use those zig clean color real brush markers to add some deeper color inside the sentiment letters.

I layered the panel onto a piece of gold tonic cardstock and then onto dark brown.

I love how this ended up. It looks so regal and beautiful and stunning and warm and I was so excited to share it. 

Moral of the story for day 6 of this coloring challenge, keep swimming, that blue fish has it right.


Saturday, June 15, 2019

June Pink and Main Unboxing and a 30 Day

Today, Kathy Rakusen has started her 30 day coloring challenge. Her philosophy is that  10 minutes a day of coloring can melt the stress away and I'm not sure I don't agree. I have always found coloring to be my therapy. I'll leave the link to her blog below so you can participate in the 30 day challenge yourself!


I have been trying to get into my craft room daily but sometimes that just isn't in the cards. And with that, inspiration can sometimes be hard to come by. The past 4 months I've been subscribed to Pink and Main's new subscription box and it has been a really good inspiration point. Although, it does not help with finding time to craft. If someone would sell a box with extra time in it, I'm sure I'd sign up for that!

The new Pink and Main Courtyard box arrived today. And as always there are things I'd reach for over and over again and some things that are a stretch for me and my style of card making. Which makes these boxes a real exercise in stretching my skills.

I don't have a video capable setup yet so my unboxing is done with photos this month. I hope to be video capable by next month.

 The kit always comes in this adorable pink box. And to protect this fun box, it was packaged in a postal envelope. So now I will feel terrible about tossing it in the trash so it may have to become my June splat box for now.

Once opened everything is packaged in tissue paper, as always. And if you wanted to, you could use this tissue paper in your monthly projects because it does coordinate.


The themed postcard with info about the month's theme and what is inside the box. On one side there is this awesome anchor image and on the other side is the color theme, name of the monthly collection and the contents of the kit.


Everything but the cardstock is enclosed in this zip top pouch. I believe the dimensions are 8 1/2 x 11". I love these to hold my projects in progress.


These are the embellishments inside the kit, buttons, gems, sequins, twine and the wooden pieces. Some of these are things I'd reach for over and over, and others are things I'd normally not use. We will see how this works out for me this month, will I or won't I reach for them???


 These two items are in my wheelhouse for sure. Embossing folder and embossing powder. I love how this folder could be sun rays from the sun to the ground or sun rays below the water. And this embossing powder is really pretty. Very nautical in color.


The 6x6 paper pad, Colored cardstock and stamp set are the items I'm most excited for. These papers are so beautiful. Gender neutral, nautical, they read textural but are smooth. I can see them adding a lot to my cards. The cardstocks all coordinate and the light kraft one has an embossed polkadot texture to it. I'm excited to see what I can create with this kit.


 This stamp set is the item I was most excited about. Look at that ship in the bottle! I've got so many ideas for this set. And as of now it is sitting on my work desk waiting to be used.


  So back to this 30 day coloring challenge. I did a little coloring today on some fish, of all things. Yesterday I posted a quick video clip of a technique called glazing done with copic markers. Today I finished coloring those images and created three cards.

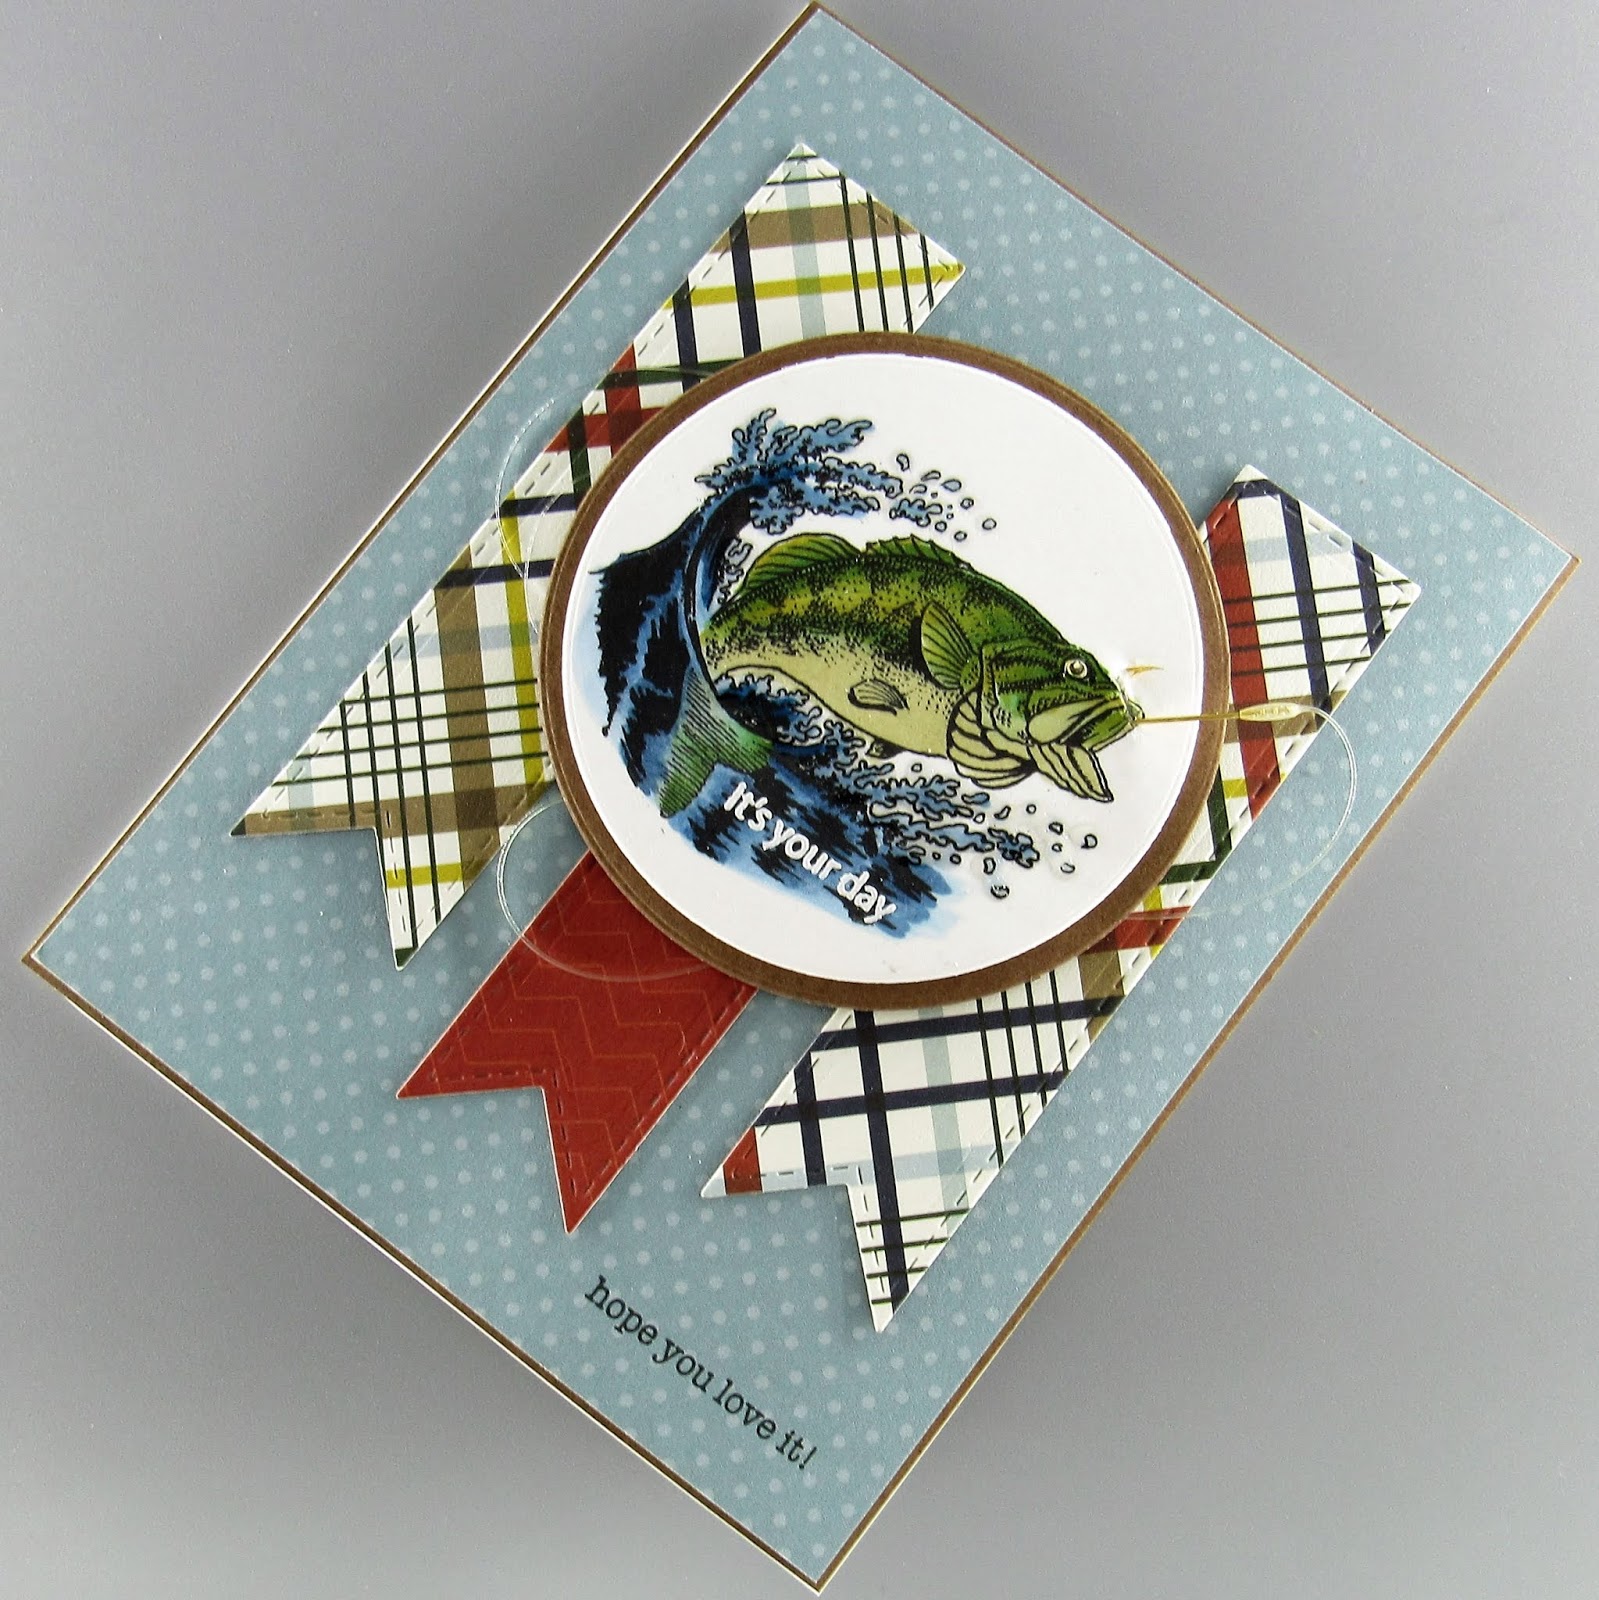
Here is a photo of the finished coloring. Three cards were created, all similar but different. One has a fish hook in its mouth, another is on a wobble and the third is simply colored and highlighted with glossy accents.


For additional information on the daily marker 30 day challenge, please feel free to check out the Facebook page, Facebook group or the daily marker blog all linked below.


Daily Marker Facebook Page

Daily Marker Facebook Group


The Daily Marker

As always, if you are interested in seeing what other cards I've created, you are welcome to check out our online store at www.delaneyjanecards.com

Friday, April 14, 2017

Faith


With Easter approaching and with most Christians celebrating Good Friday today, I thought a few Easter cards would be appropriate. I started out with this blue version of this card and it morphed into the pink-purple version. Let me explain what happened and how I love them both.


I started with two pieces of Strathmore ready cut watercolor paper and my Ganzi Tambi Watercolor pallet. I put a wash of blue on one piece and a wash of pink with a touch of purple on the other and allowed them to dry.

While those were drying I stamped the Cross image on some Smooth white card stock from MFT in Lawn Fawn Jet Black ink. I colored one using my Copic markers and the other using my Prisma Color pencils. I fussy cut the images and set them aside.

I heat embossed the MFT flourish background stamp in clear on the pink-purple piece and stenciled the SSS morrocan stencil over the blue in stormy sky distress ink, then die cut the panels as well as two additional from MFT's Blueberry cardstock using the Park Ave frame by Mama Elephant.  I also die cut the SSS Painted Faith die 6 times, 3 black and 3 from MFT blueberry cardstock.

The first card went together just as I had envisioned, stacked the frames on top of each other, adhered the center panel directly to the card base. I stacked the blue die cuts on top of each other, stamped the cross and paper pieced the colored image onto the center panel and adhered the Faith die cut over the top. Three SU enamel dots around the cross and some Spectrum Noir Clear Glitter Overlay pen on the sentiment finished it up.

I really like the subtle dimension created by stacking the dies.


I finished the inside of the card with a sentiment and re-stamped the focal image in the stormy sky ink.


For the second card I used the same three main pieces, the Park Ave frame, the same sentiment and the same focal image. Look how different this turned out.


Instead of stacking dies for the frame, I mounted it on two layers of foam tape. Instead of layering the sentiment over the cross image, I used the cross to replace the t in faith. I added a layer of clear glitter overlay pen and a generous layer of glossy accents to the die cut and cross. A scattering of Pretty Pink Posh Sparkling Clear Sequins and some drying time and this card was complete.


I finished the inside the same as the first but used spun sugar distress ink for the cross.


These were fun to create and it was a challenge to use these same pieces two ways.

Thanks for stopping by!

Monday, March 27, 2017

Unicorns & Rainbows: Growing in Unity Day 1


Hi Everyone, 

My name is Renee and I am one of the Growing in Unity girls for the week. I've been paper crafting for almost 20 years (I just gasped at that too). I started out with scrapbooks when I was pregnant with my oldest son, now almost 19 and have since switched almost exclusively to card making. I love the instant gratification cards bring. 

As I said, I started nearly 20 years ago while pregnant with my first son and just a few short weeks ago my husband and I welcomed collective baby number 7! We are a big blended family and our kids range from almost 19 to 5 weeks old. 

We endured a tragedy in 2013 when our 10 day old daughter Delaney passed away. Since then it has been my sole mission to spread joy and happiness. Although she did not pass away from cancer, I felt the people battling cancer were feeling the same helpless feelings my husband and I were while we watched our daughter struggle and fight. So, I've been sending cards of hope to cancer patients for the last 3 1/2 years, mostly anonymously, always full of love and hope. Unity has been a huge part of this because they carry such an amazing line of cancer stamps (so grateful for that, btw). 

This week I want to focus on techniques and bright fun cards. I hope you enjoy my cards as much as I do. Today's technique is INK SMOOSHING. By pressing the distress ink pads down on a piece of acetate and spritzing the pigment with water and dabbing your paper into the ink pool, you can create some really interesting and beautiful designs, images and backgrounds. 

My first card this week required me to step outside my crafty comfort zone, completely. I'm not usually a fan of ink smooshing because it delivers results that are less than ... controlled... and I'm a pretty clean and simple card maker. The background on this card is rainbow ink smooshing, what else would you think would be appropriate for this super cute Unicorn by Susan Weckesser?


This set is called Unicorns & Rainbows and comes with 6 red rubber stamps. I used three image stamps and the sentiment to create this card.


I paper pieced the cute unicorn and cloud onto the background, colored the rainbow with some fun copic markers and added some sparkle to the unicorn. How much fun is this card!


Be sure to leave a comment below for your change to win some fun stamps from Unity Stamp Company!


The products used to create this bright and cheery card are:

Unity Stamp Co Unicorns & Rainbows available here:
Unicorns & Rainbows

Ranger Distress Inks:
Candied Apple
Carved Pumpkin
Mustard Seed
Lucky Clover
Blueprint Sketch
Wilted Violet

Additional Products Used:
A Muse Studio Landscape die- cloud border
Mama Elephant Die- Park Ave. Frame
Copic Markers- Rainbow colors
PPP sequins
Tim Holtz water color paper
Spectrum noir sparkle overlay pen