Hi My Friend


Then I applied sugar card stock to the colored water (peerless water color paper may have worked better as I did end up with a little warping) I rolled it from one side of the block to the other.


And when it came off, it was light and splotchy and I honestly almost threw it away. But I pressed on. ;) I decided the paper needed more texture so I used each of the colors and added splotches of color by tapping the inner straw with my finger while holding it over the paper. I did the Blush first and then the Marigold. Then I set the piece to the side to dry and moved on to the next step.


I die cut the word hi several times from a strip of sugar card stock.
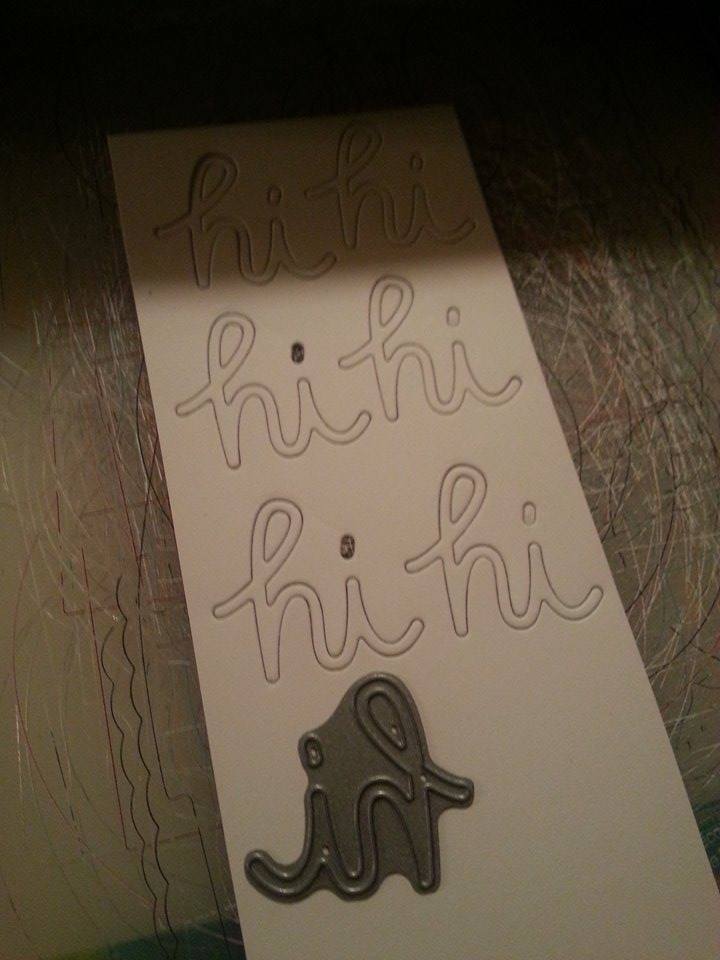


I topped the stack off with the last die cut so the face of the word is really clean and clear.

I cut and folded a piece of Bubblegum Card stock into a standard A2 size card. 8 1/2 x 5 1/2 scored at 4 1/2. I stamped the sentiment in the lower right corner.


At this point I realized I wanted to add a little ribbon. So I carefully peeled back the top of that panel and attached a piece of ribbon. Then using a separate piece of ribbon to tie a cute little bow.

This completes my card for today. It probably took me longer to write this all out than it did to make it. ;) Supply list below.
A Muse Studio Products Used
hi- word die
Bubblegum card stock
Marigold Splash
Blush Splash
N55 Tombow
Creative Candy Twinkle Stickers- black
Quickie glue pen
Water brush
1/4" Organdy Ribbon - orange
Hello Gorgeous stamp set - my friend
Tombow glue tape
Versafine Onyx Black ink
shop here: www.amusestudio.com/reneemoran
No comments:
Post a Comment