Friday, April 28, 2017

My Tribe


I have some amazing people in my life and there are a few that mean more to me than most. Four years ago I joined a pregnancy support group when I was pregnant with Delaney Jane and met over 100 of the kindest, warmest, most supportive women on the planet.

There is one in particular that I grew close to. I think it has to do with the depths of her faith and her belief in God. I wasn't religious, I was faithful. I never got mad at God during her ten short days nor did I after, but I struggled with her death and still do, to this day.

However, I met this woman online and she has been so supportive and understanding and she is my person. You know, that person you can say just about anything to, can just vent to, can hope for, can pray with, that person.

Her name is Amanda and she is amazing. Besides her family and faith, her passion was and has always been helping people. She went to school to be a personal trainer, focusing on pregnancy and postpartum fitness and then took a leap of faith and became a Beachbody Coach a little over a year ago.

Amanda held my hand, virtually, while I went on my own weight loss journey. I lost a total of 83# before I got pregnant with our now youngest, Ryker. If I needed something, Amanda was there. If I struggled, Amanda was there. If I was celebrating a win or achievement, Amanda was there.

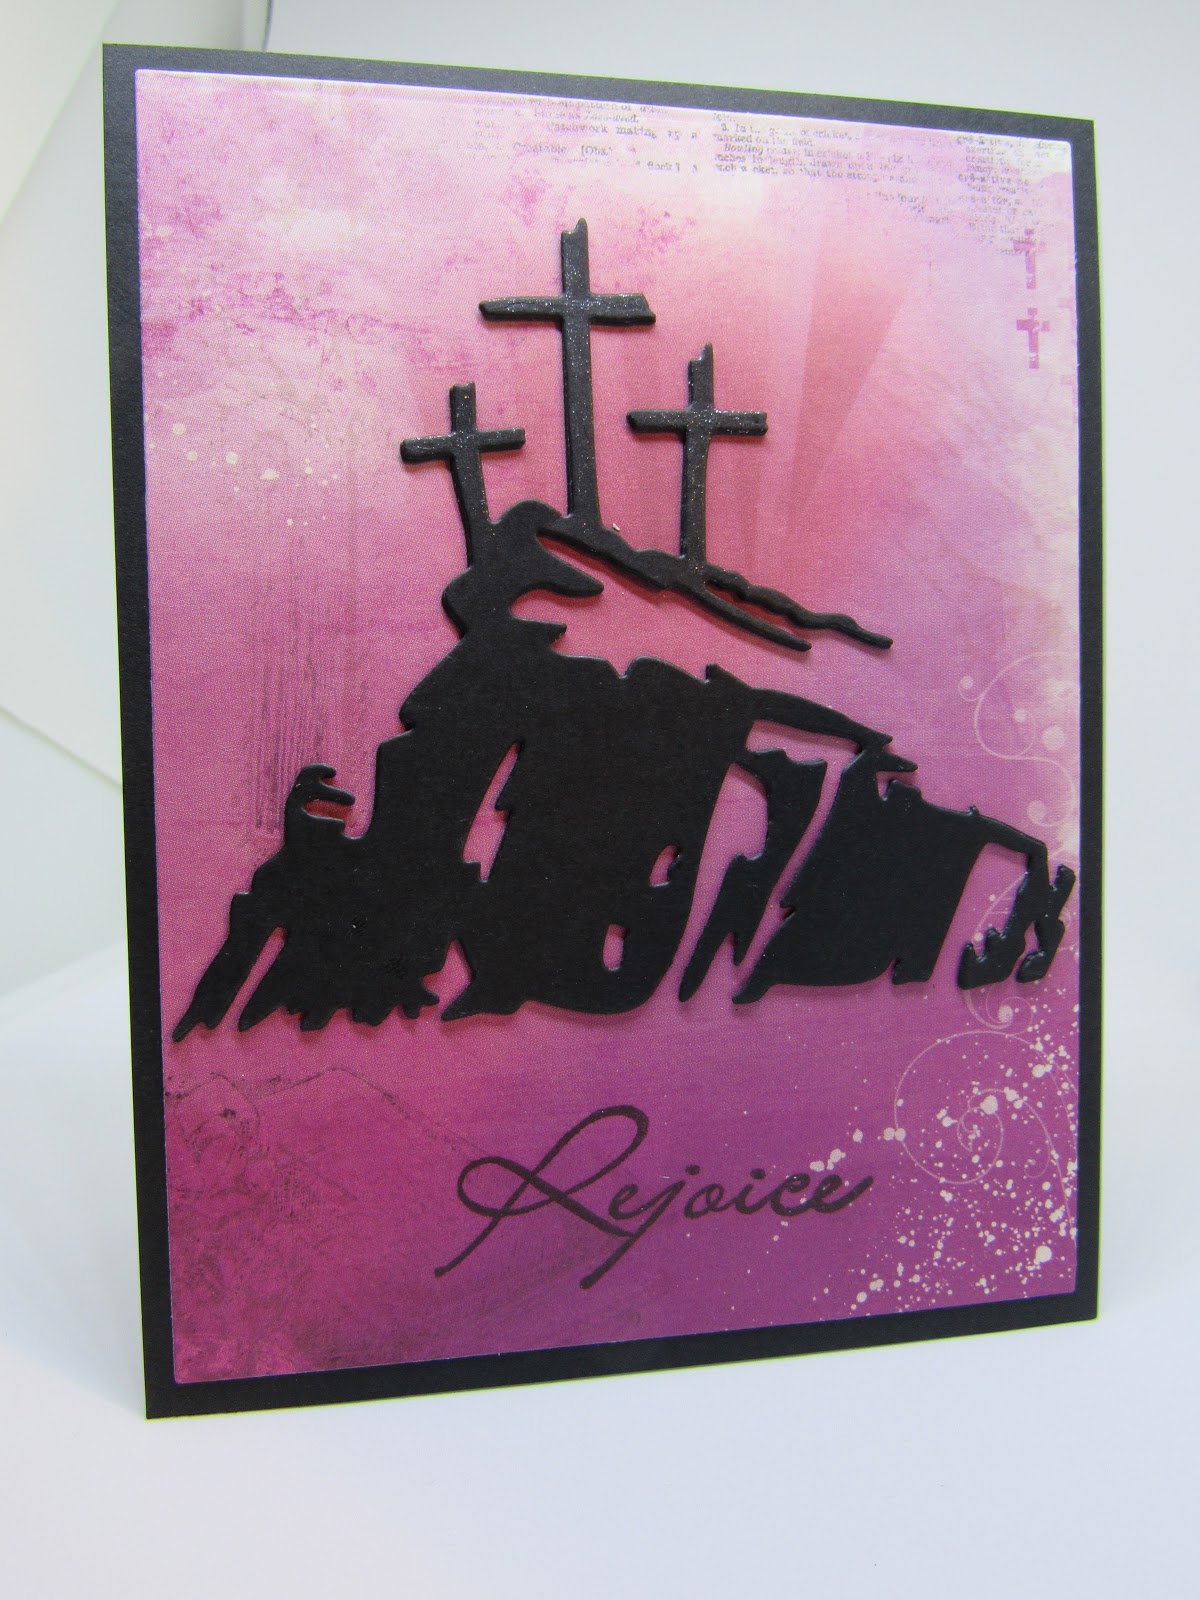
I wanted to remind her just how special she is to me and I did what I know how to do, I made her a personalized card.

It may not seem like much, but for a few hours I totally and completely thought of no one else but her. I strived to create a beautiful card, something worthy for her to receive. I really hope it is received with as much love as it is sent with.


I heat embossed the words, be bold, be brave be wild on a piece of bright pink cardstock with clear embossing powder and then used a blending tool to do an emboss resist technique with black soot distress ink, leaving the bright pink as the words.

I heat embossed the sentiment onto a piece of smooth white cardstock and die cut it with a SU die as well as another piece of that same pink cardstock with the scallop circle ( quick tip: I cut it from the back panel because no one will ever know- except you and I)

I had this super cool feather paper in a paper stack from Michael's and it matched. How could I not use it.

I cut the edge with a border die that has some stitching and this cool curve. I layered it all together and then turned to the inside of the card.

I layered another piece of that feather paper on a panel of the hot pink card stock and decided to stamp an image and another sentiment, dream big.


Thursday, April 27, 2017

Watt's Up?


A new stamp set, an unscheduled extra blog post and Color Throwdown CTD440 helped me make this card.

I had no idea what I was going to do with pink, yellow and green. (so it reads sort of purple pink but I went with the more pink side of it)


I pulled out this paper pad by MFT and decided to use this patterned paper. And I reached for a, yet unused, stamp set by SugarPea Designs and decided I was going to make it work. 

I absolutely love how this card turned out. I finished the inside with the rest of the punny sentiment from the set.


Wednesday, April 26, 2017

Die Cuts and Quilts


I had the opportunity to play with a couple quilt die cut background images. I used some old designer paper I had laying around to create some beautiful paper pieced quilts.

I think I'm going to pass these along to my Aunt who gifts handmade quilts to the Veterans here in my town.


Monday, April 24, 2017

Hey Chick!


I played my first Color Throwdown Challenge today. The challenge is Yellow, Orange, Red and Purple (neutrals are allowed).  You can check it out here: CTD439


I wanted to play with this Hey Chick! set I received during a recent Stampin' Up promotional Sale. I had this idea in my head that in a bunch of hens, a single Rooster called one out to say hey... And I set about trying to make it happen.


I partially embossed the background panel with this hexagon embossing folder I have, I thought it resembled chicken wire fencing. I stamped the hen image several times in the background in a light ink by MFT called Natural and colored the hens in with Copic markers in very light, muted tones.


Then, I stamped the main hen and rooster on Bristol Smooth Cardstock and used my Zig Real Brush Clean Color markers and fussy cut them out. Using a couple colors of distress inks, I lightly inked over the embossing to help it stand out and around the bottom of the panel to fade the background hens. I stamped a sentiment on a piece of the same Primitive White Cardstock I used to create the focal panel and die cut that with an MFT banner die. I popped the images up using some 3M foam tape. Three PPP sparkling clear sequins and I said done on this one. Do you think I achieved what I was trying to create?

Sunday, April 23, 2017

Graduation and a Hop!


It is that time of year for me, again. Unity Blog Hop time!  I'm always so excited to join other crafters in these blog hops. They are fun and they expand my horizons as far as card style and stamping techniques.


I used Unity's  April Graduation Bundle  to create both these cards.


I figured with graduation season right around the corner it might be a good time to get a few cards made for my stash. 

I watched a Unity tip video a while back and saw one of the designers use Prisma Color Pencils on Vellum and I wanted to try that. The female graduate card is created using this technique. I only colored the cap and gown on this image and left he rest without color. When I layered it over this beautiful patterned paper by Pink Paislee (the Take me Away pack), I loved how the yellow stripe showed through the vellum creating a soft skin tone.  

The sentiment and image are heat embossed because this ink was taking a long time to dry and I wanted to move on, so a dusting of clear embossing powder over the black ink and a quick melt with the heat tool and I was able to move on. A few sequins from a Lucy's card mix (pastel paradise) and this card front was done. 


I finished the inside with a die cut panel, strip of patterned paper and an additional sentiment. 


The second card I created was a masculine version. I wanted to use the same colored pencils but this time used smooth white card stock to stamp and color my image on. I did use the same wonky stitched rectangle die from Gina Marie to cut the main panel that I used on the vellum from the previous card. 


The patterned paper is from a Paper House Color Ways pack. I die cut the sentiment panel with a SSS stitched banner die. I did more coloring on the image on this card than the previous. I added the pop of blue and yellow on a mono-chromatic card to draw the eye in. 

I finished the inside with a panel die cut with the same rectangle die and an additional sentiment. 


If you'd like to catch up on my Growing in Unity week you can start here: Unicorns and Rainbows GIU Day 1  from there you can visit the other 4 posts from my week.


Remember, this blog post is a part of a blog hop put on by Unity Stamp Company. Be sure to visit the links below for a chance to win!

You can find the other participants at the following blogs:


Friday, April 21, 2017

Beautiful you


I was given the opportunity to get my hands on this new set by Stampin' Up called Beautiful You. I wanted to create a card of Hope for my Aunt who is now in remission from stage 4 Melanoma.


I did an emboss resist background using Simon Says Stamp's Love Background stamp. I embossed it in clear and used my Zig Clean Color Real Brush markers to watercolor the background to reveal the words. I used the same teal colors to color the woman's dress. I die cut the panel using an A Muse studio die from their stitched tags set and cut the main panel with SU's new framelets die.  I also cut a piece of vellum with the SU framelets die but this time the scallop edge.

The sentiment is stamped with Versafine and cut with a SSS stitched banner die. After all the die cutting and the stamping and the little bit of coloring, this card came together really quickly.

The sentiment panel and main panel are raised on foam tape. The card panel is secured to a top folding A2 size card base made from Simon Says Stamp Steel Grey cardstock.

I used a little Spectrum Noir Clear Glitter Overlay pen on the woman's dress and hat as a finishing touch.

I think my aunt will love this card.


Thanks for stopping by, please let me know what you think of today's card.


Wednesday, April 19, 2017

You've Captured My Heart

I love personalizing thank you cards, don't you? I have this wonderful, beautiful, talented friend who came to my house and took photos of our newborn, Ryker Gregory.


I mean, look at these, she is a new photographer and this is just a little sampling of the beautiful photos she took.


Look at these baby feet!


She even captured a little smile on this one and in the background is a teddy bear that has Delaney's hair in it. The bear was a gift from the funeral director when we buried her.

Anyway, back to the card. I needed to create a card that said thank you but I wanted it to be very personalized and I reached for a Unity Stamp called Captured My Heart by Lisa Arana.


There is really only a single stamped image used in this card, the camera. Otherwise it is completely created with die cuts, something I really don't do that often. The camera was just perfect with these patterned papers and I colored it to match. I used some Spectrum Noir Clear Sparkle Overlay Pen to cover the camera and then a little glossy accents on the lens. I added a few sequins, layered all the die cut panels and voila, a beautiful thank you card for a beautiful photographer and friend.

You can see the dimension in the image below.


I can't wait to send this to my friend.

Monday, April 17, 2017

How to make me Happy:


I've had this Simon Says Stamp set for a while now called Choose Happy and I'd yet to ink any of the stamps up. Once I got this True Stories paper pad by American Crafts in the mail I knew I had to make a coffee themed card and I had to do it right away!


 It really came together pretty quickly once I decided on a sketch to work off of for the card. I made the sketch my own instead of following it directly, but I loved the results.

Using the MFT Pierced Rectangle dies, I die cut two pieces patterned paper panels and then with a smaller Pierced Rectangle I die cut a white panel from some MFT Smooth White Cardstock.

The largest patterned paper was cut using the MFT Blueprints 2 Large Rectangle die.

After my papers were cut this card came together in a matter of minutes.


I stamped the focal panel with this adorable sentiment and coffee cup image, quick colored the cup and heart and coffee with some Copic markers (W00, R24, E57), added a little glossy accents and a few Stampin' Up enamel dots to finish the card front.

I attached it to a 4 1/4 x 5 1/2" MFT Blueberry Cardstock panel and attached to an A2 top fold card base.

I stamped one more sentiment on the inside with the same coffee cup image. I used the same three Copic markers to color it quickly and the card was complete.


Saturday, April 15, 2017

Faith


I wanted to take a moment to remind everyone what this season is about. Yes, the spring brings new life for creatures in nature, but it brought new life for man-kind too. I made these cards to remember Good Friday and to give to a few special people Easter morning.

I never create cards using just dies and today I did just that. The rectangle die and the mountain with the 3 crosses are from Gina Marie dies and the Faith is painted Faith by Simon Says Stamp.

The paper pack is Bo Bunny. Simple and gorgeous, in my opinion.


Friday, April 14, 2017

Faith


With Easter approaching and with most Christians celebrating Good Friday today, I thought a few Easter cards would be appropriate. I started out with this blue version of this card and it morphed into the pink-purple version. Let me explain what happened and how I love them both.


I started with two pieces of Strathmore ready cut watercolor paper and my Ganzi Tambi Watercolor pallet. I put a wash of blue on one piece and a wash of pink with a touch of purple on the other and allowed them to dry.

While those were drying I stamped the Cross image on some Smooth white card stock from MFT in Lawn Fawn Jet Black ink. I colored one using my Copic markers and the other using my Prisma Color pencils. I fussy cut the images and set them aside.

I heat embossed the MFT flourish background stamp in clear on the pink-purple piece and stenciled the SSS morrocan stencil over the blue in stormy sky distress ink, then die cut the panels as well as two additional from MFT's Blueberry cardstock using the Park Ave frame by Mama Elephant.  I also die cut the SSS Painted Faith die 6 times, 3 black and 3 from MFT blueberry cardstock.

The first card went together just as I had envisioned, stacked the frames on top of each other, adhered the center panel directly to the card base. I stacked the blue die cuts on top of each other, stamped the cross and paper pieced the colored image onto the center panel and adhered the Faith die cut over the top. Three SU enamel dots around the cross and some Spectrum Noir Clear Glitter Overlay pen on the sentiment finished it up.

I really like the subtle dimension created by stacking the dies.


I finished the inside of the card with a sentiment and re-stamped the focal image in the stormy sky ink.


For the second card I used the same three main pieces, the Park Ave frame, the same sentiment and the same focal image. Look how different this turned out.


Instead of stacking dies for the frame, I mounted it on two layers of foam tape. Instead of layering the sentiment over the cross image, I used the cross to replace the t in faith. I added a layer of clear glitter overlay pen and a generous layer of glossy accents to the die cut and cross. A scattering of Pretty Pink Posh Sparkling Clear Sequins and some drying time and this card was complete.


I finished the inside the same as the first but used spun sugar distress ink for the cross.


These were fun to create and it was a challenge to use these same pieces two ways.

Thanks for stopping by!

Wednesday, April 12, 2017

Teachers Gonna Teach


I was blessed with the opportunity to create Teacher Appreciation cards for a school in Ohio where my best friend's son attends. Being tasked with 67 cards was sort of a challenge but I didn't want to bow out. 

I found this adorable paper pad by Doodlebug and decided I'd make the cards from that single pad of paper. That way they coordinate but wouldn't be the same. 

I also used several coordinating images from several companies, Simon Says Stamp, Tim Holtz, Lawn Fawn and a few others. Each card has the same basic sketch used and the same sentiment on the outside and inside (we can always count on you). 

I took a few photos so I could represent the multiple images and papers used. 


Tim Holtz Image


 Whipper Snapper Design Image


Tim Holtz Image


Whipper Snapper

 Tim Holtz

Tim Holtz

Lawn Fawn