
I played in the craft room today, again. And I liked what I created. This bright card was not what I intended on creating but once I started stamping and painting it sort of created itself. All the stamps I used are Unity stamps and I only used a single die from Simon Says Stamp.
I started by stamping my flowers in MFT Hybrid Ink, in the color natural. I was watching some YouTubers take a similar ink from SSS and create faux no line water coloring with it and I thought maybe I'd get a similar look with this. The answer... sort of a no... but I wanted to make this card work so I did a few things to help it along.
My images are stamped on Strathmore Ready Cut Watercolor paper. I masked my images and blended the background with a combination of several blue distress inks, broken china, mermaid lagoon and peacock feathers. Then I used a hand-cut stencil to sort of sponge in some cloud like shapes in the background. While the masks were in place I stamped the ornate shape in the background with stormy sky distress ink. Then I started to watercolor the images.

I used my Zig clean color real brush markers because, let's face it, I need serious practice with these markers. I used Carmine Red No 022 and Wine Red No 024 for the flowers. Just putting a little bit on the petals and pulling the color out with my water brush. I used Deep Green No. 044 for the stems. Once I had the base color to all the flowers down, I used my Distress sprayer to spritz the entire panel and get some cool distressed droplets.
After that, I went in with the Carmine Red Zig marker and added the outlines back into the flowers using a real light pressure, barely touching the paper. I wanted even more depth so I did use a few Copic Markers C1 & C3 to help create a little bit of a shadow so the flowers popped off the panel a bit more. This is very subtle but does help.
I die cut the panel with a Simon Says Stamp Stitched Shapes Bundle die for some additional interest.
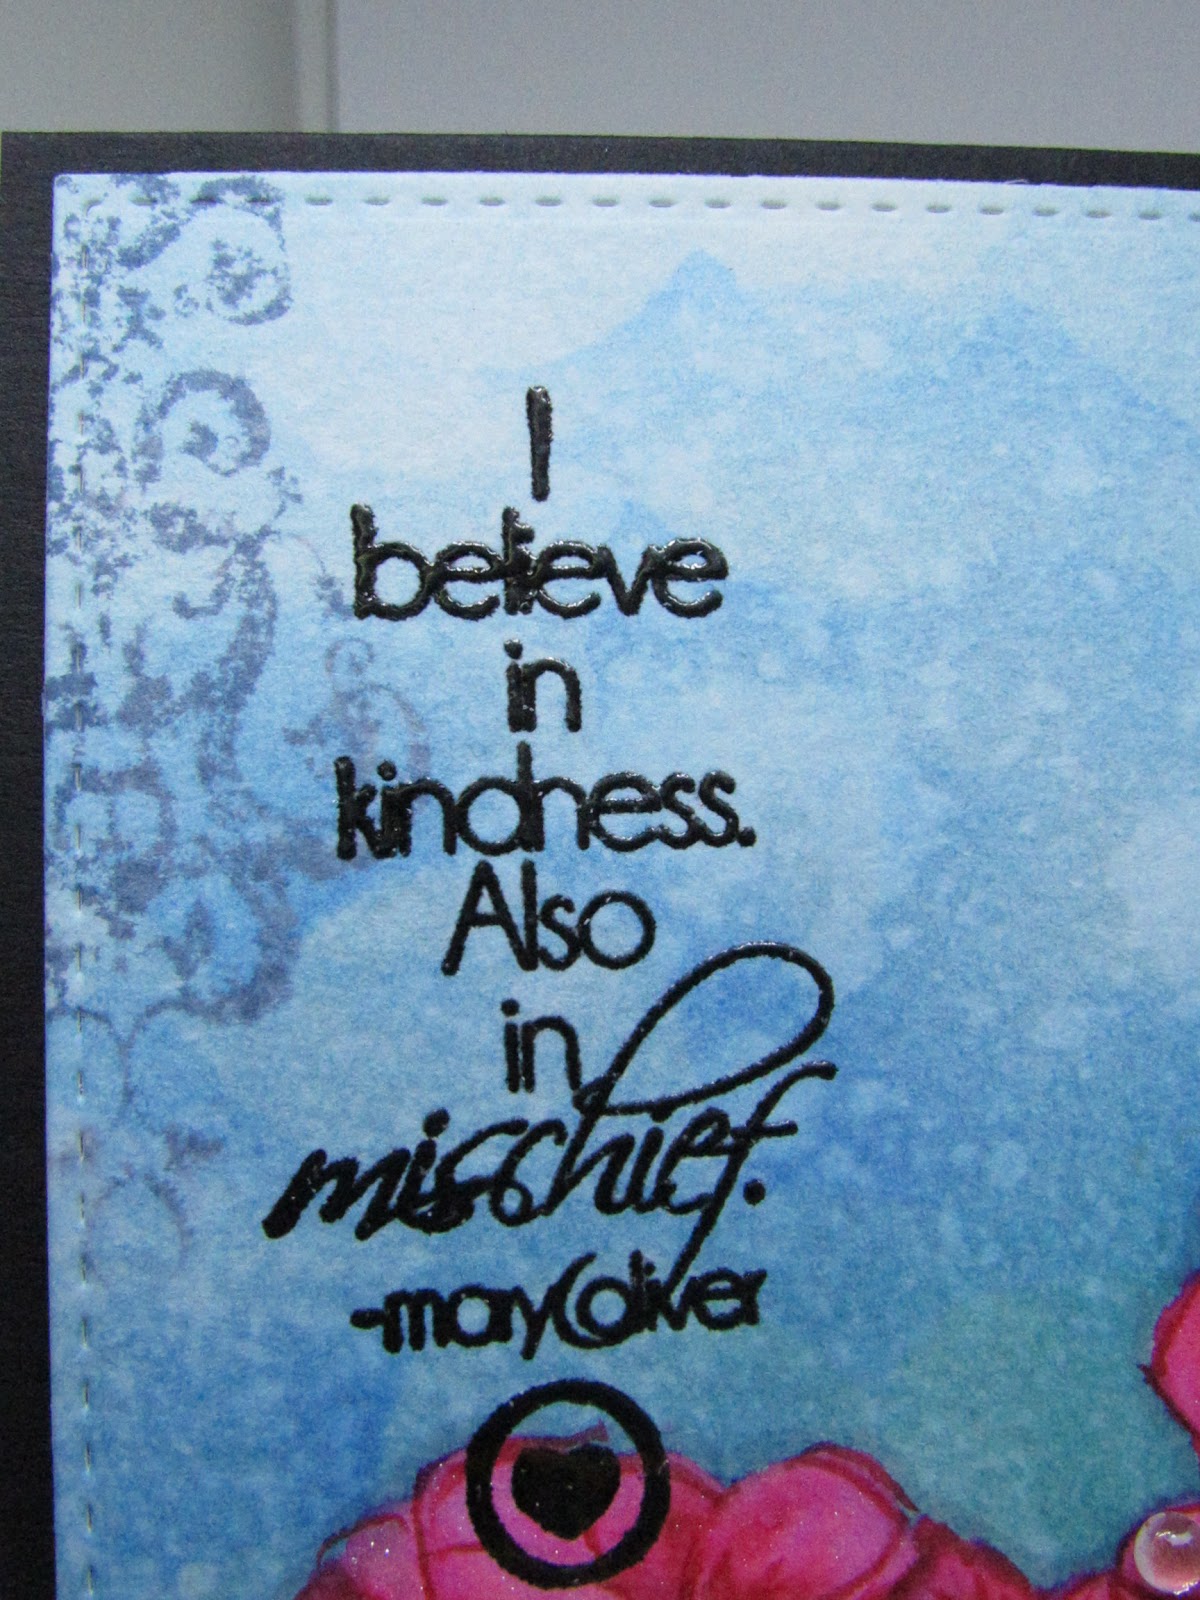
I stamped the sentiment with my MISTI in Versafine Onyx Black ink and heat embossed it with Ranger Clear embossing powder. Then I sparkled it all up. I used the Wink of Stella on the flower petals that would be further back and in the shaded areas and I used the Spectrum Noir Clear Glitter Brush Pen on the areas where it would be out front. In real life, this card is so sparkly!
I added a few droplets from Pretty Pink Posh using my Ranger Multi Medium Matte. I lined the inside with a white panel because my card base is the black cardstock from MFT and that completed my card.


